41일차 TIL
팀프로젝트 : MegaStruct
스파르타코딩클럽
PickerView로 시간 선택하는 기능 구현하기

1 시간과 날짜를 버튼 눌러서 pickerView로 변환할 수 있도록 스토리보드에 생성해 줬다
우선 시간부터 pickerView로 구현해보려고 한다.
pickerView( _:titleForRow: forComponent: )
https://developer.apple.com/documentation/uikit/uipickerviewdelegate/1614384-pickerview
pickerView(_:titleForRow:forComponent:) | Apple Developer Documentation
Called by the picker view when it needs the title to use for a given row in a given component.
developer.apple.com
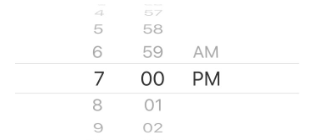
이런 게 pickerView임
버튼 클릭 시 alert창을 밑에 띄워서 선택하는 방식으로 구현하고자 한다.
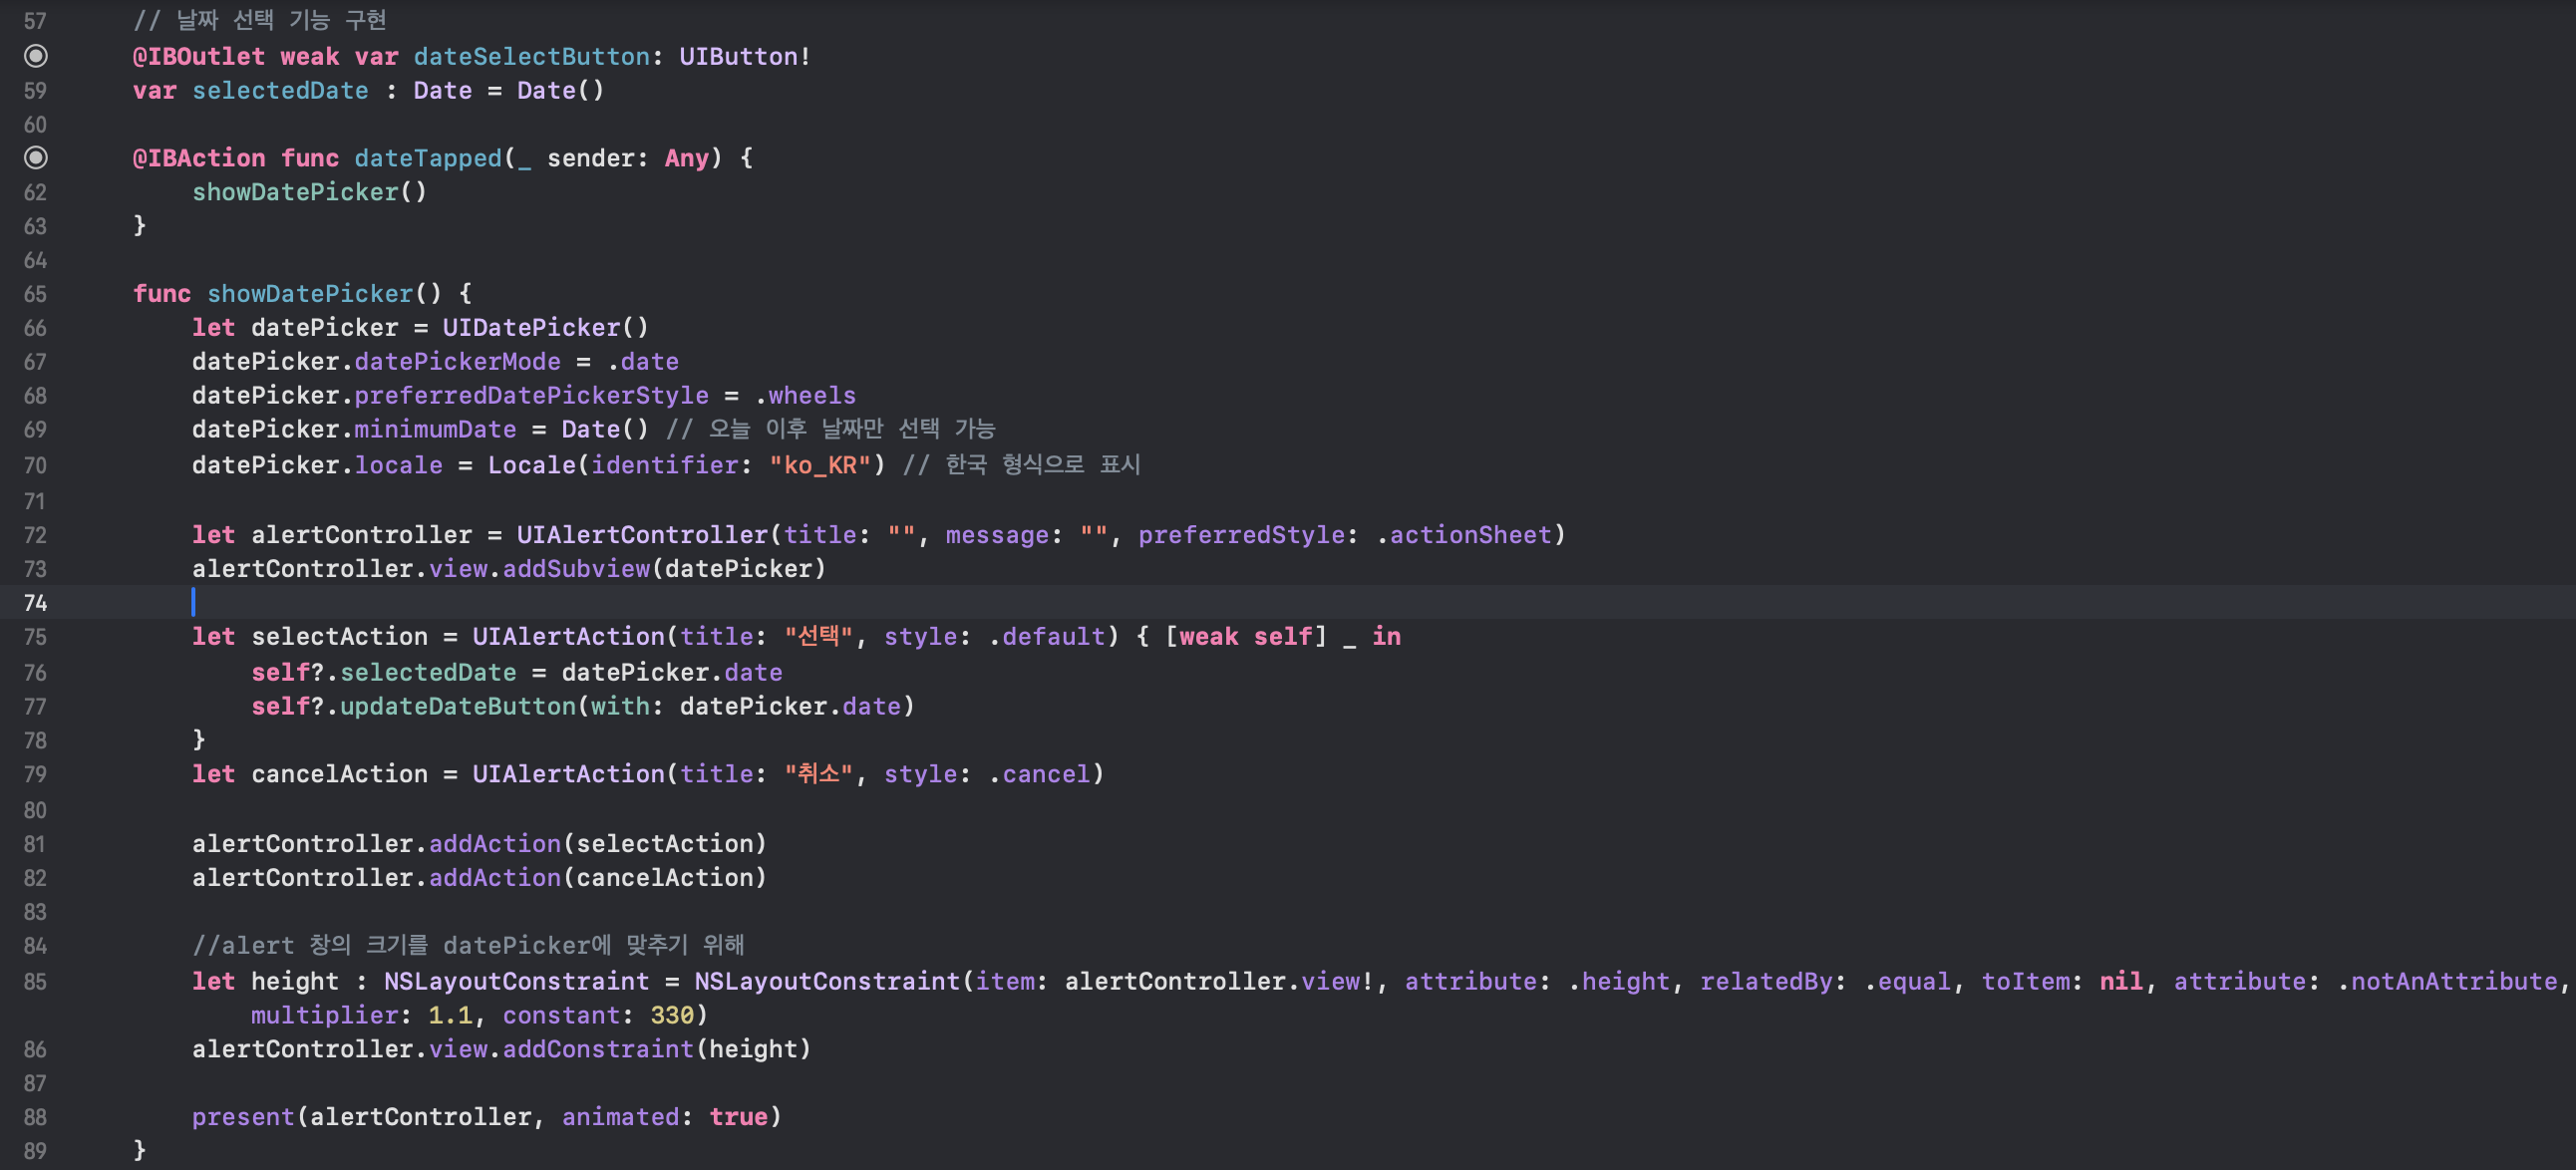
시간 선택 코드 구현

스토리보드에 버튼과 연결 (처음은 현재 시간으로)

alert창으로 pickerView 띄우도록 코드 구현

버튼 클릭 시 pickerView 띄우도록 IBAction으로 연결해 주고, showTimePicker() 실행
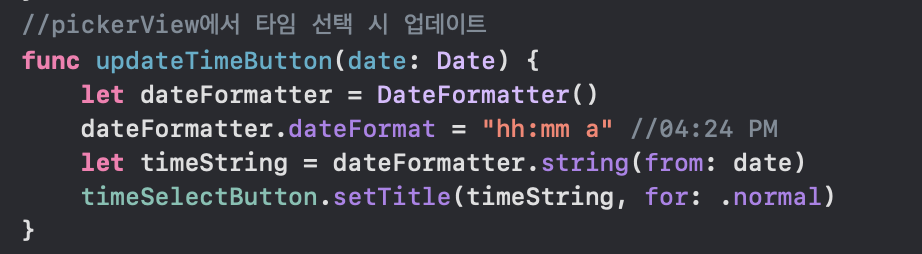
updateTimeButton() 함수

앱 실행 시 뜨는 시간은 현재 시간으로 표시하기 위해 updateTimeButton(date: selectedTime)을 viewDidLoad()에 넣어주기
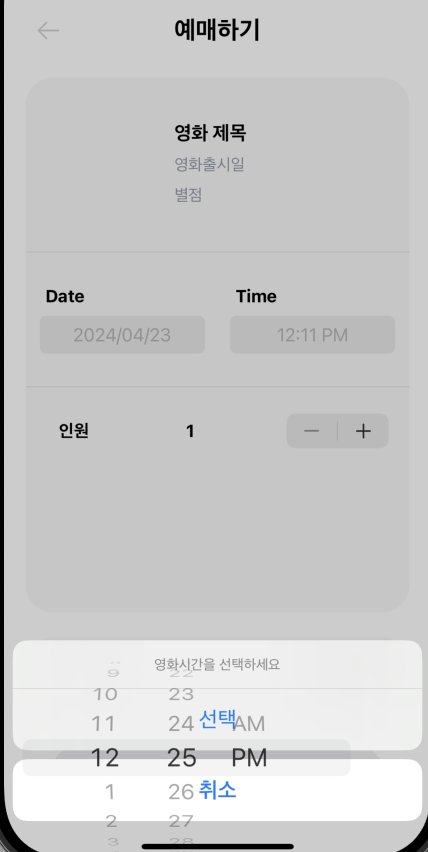
엥 근데 이렇게 뜸 ㅋ ㅠ
이 블로그를 참고했는데,
showTimePicker() 에 alert창의 높이를 조절하는 코드를 추가해 주면


잘 나오는 것을 확인할 수 있음 ㅜㅜ
하 저것 때문에 customPopup까지 해봤다가 돌아왔다..

그래서 chatGPT에게 alert창과 customPopup의 장단점을 물어봤음!
시간을 정하는 간단한 문제라서 Alert가 나은 것 같음 ㅎㅎ 굿
customPopup 너무 복잡하더라...ㅠ
그렇지만 나중에 다른 기능을 구현할 때 사용할 수 있으니 알아두는 건 좋은 것 같음!
customPopup으로 구현했던 거..
import UIKit
class TicketingController: UIViewController {
@IBOutlet weak var timeSelectButton: UIButton!
var selectedTime: Date = Date() // 처음은 현재 시간으로 설정
override func viewDidLoad() {
super.viewDidLoad()
// 앱 실행 시 현재 시간 버튼에 표시
updateTimeButton(date: selectedTime)
}
// 날짜/시간 선택 버튼 클릭 시
@IBAction func timeTapped(_ sender: Any) {
showCustomTimePicker()
}
// 커스텀 팝업으로 시간 선택
func showCustomTimePicker() {
let popupVC = UIViewController()
popupVC.view.backgroundColor = UIColor.white
let pickerView = UIDatePicker()
pickerView.datePickerMode = .time
pickerView.preferredDatePickerStyle = .wheels
pickerView.translatesAutoresizingMaskIntoConstraints = false
popupVC.view.addSubview(pickerView)
// UIDatePicker 레이아웃 설정
pickerView.centerXAnchor.constraint(equalTo: popupVC.view.centerXAnchor).isActive = true
pickerView.centerYAnchor.constraint(equalTo: popupVC.view.centerYAnchor).isActive = true
// 팝업 창 크기 및 위치 설정
popupVC.modalPresentationStyle = .custom
popupVC.transitioningDelegate = self // 설정한 custom presentation을 위한 transitioning delegate 지정
// 팝업 창 띄우기
present(popupVC, animated: true, completion: nil)
// 선택 버튼
let selectButton = UIButton(type: .system)
selectButton.setTitle("선택", for: .normal)
selectButton.addTarget(self, action: #selector(handleTimeSelection(_:)), for: .touchUpInside)
popupVC.view.addSubview(selectButton)
// 버튼 레이아웃 설정
selectButton.translatesAutoresizingMaskIntoConstraints = false
selectButton.topAnchor.constraint(equalTo: pickerView.bottomAnchor, constant: 20).isActive = true
selectButton.centerXAnchor.constraint(equalTo: popupVC.view.centerXAnchor).isActive = true
}
// 시간 선택 완료 시
@objc func handleTimeSelection(_ sender: UIButton) {
if let presentedVC = presentedViewController {
if let pickerView = presentedVC.view.subviews.first as? UIDatePicker {
selectedTime = pickerView.date
updateTimeButton(date: selectedTime)
}
presentedVC.dismiss(animated: true, completion: nil)
}
}
// 버튼에 선택된 시간 표시
func updateTimeButton(date: Date) {
let dateFormatter = DateFormatter()
dateFormatter.dateFormat = "hh:mm a" // 예: "04:24 PM"
let timeString = dateFormatter.string(from: date)
timeSelectButton.setTitle(timeString, for: .normal)
}
}
// Custom Presentation을 위한 UIViewControllerTransitioningDelegate 구현
extension TicketingController: UIViewControllerTransitioningDelegate {
func presentationController(forPresented presented: UIViewController, presenting: UIViewController?, source: UIViewController) -> UIPresentationController? {
return CustomPresentationController(presentedViewController: presented, presenting: presenting)
}
}
// Custom UIPresentationController 클래스 구현
class CustomPresentationController: UIPresentationController {
override var frameOfPresentedViewInContainerView: CGRect {
guard let containerView = containerView else { return CGRect.zero }
let screenWidth = containerView.bounds.width // 화면 너비
let popupWidth: CGFloat = screenWidth - 40 // 팝업 너비는 화면 너비에서 여백(예: 20)을 뺀 값
let height: CGFloat = 200
let x = (containerView.bounds.width - popupWidth) / 2
let y = containerView.bounds.height - height - 50 // 원하는 높이에 따라 조절
return CGRect(x: x, y: y, width: popupWidth, height: height)
}
}
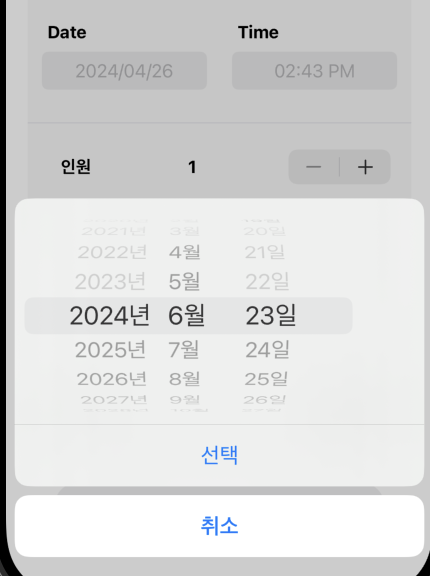
날짜 선택하는 기능 구현하기
https://kasroid.github.io/posts/ios/20201030-uikit-date-picker/
UIKit - Date Picker 사용하기, iOS 14 변경사항 정리
본 포스팅은 다음 버전을 기준으로 작성되었습니다. Swift 5.3 iOS 14.1 Intro 이전 포스트에서 Date 에 관해 알아보았으니 이번에는 사용자가 아이폰에서 날짜를 고를 때 자주 마주치게되는 인터페이
kasroid.github.io
일단 원래는 위에 한 것처럼 wheel 형식인데 iOS14 이후로 캘린더? 모양으로 변경되었다고 하는데
일단은 시간과 같은 방식으로 구현하고, 시간이 남으면 캘린더 모양도 도전해 보자 :)

그냥 시간 구현한 거랑 거의 똑같음..
이제 + 버튼을 누르면 인원수가 증가하고 -버튼을 누르면 인원수가 감소하는 버튼을 만들건대
전에 프로젝트에서는 +랑 -를 따로 버튼 한 개씩 만들어서 연결했었음..
근데 찾아보니 stepper이라는 값을 늘리거나 줄일 수 있는 기능이 있었다..! ㅜㅠ
https://developer.apple.com/documentation/uikit/uistepper
UIStepper | Apple Developer Documentation
A control for incrementing or decrementing a value.
developer.apple.com

stepper은 이렇게 생겼음!

코드나 디자인적으로도 훨씬 깔끔함 ㅜㅜ
minimun은 1이고, maximum은 8로 설정했다 ( 실제 메가박스 예매가 최대 8인까지 예매 가능하게 되어있음! )

vieDidLoad에 함수 호출하는 것도 잊지 말기..
굳
그리고 인원수에 따른 총 가격 변동 기능을 구현할 것이다.
인원수가 증가하면 당연히 결제 값도 증가하는데 기본 1인당 영화 가격은 15000원이다.

인원수에 따라 총가격을 계산하고, 총 가격 레이블을 업데이트해 준다

총 가격 계산할 때 stepper의 value값을 사용하기 때문에 stepperValueChanged 함수가 액션 할 때 업데이트된 value 값을 사용하도록 calculateTotalPrice()를 이 함수에 입력해주어야 한다.

viewDidLoad에 총 가격 레이블 업데이트까지 해주면 완료
천 단위로 쉼표 찍어주기를 하려면, updateTotalPriceLabel()을 수정해 주면 됨


완성
스탠더드반 강의 정리
https://fluffy-brie-4fd.notion.site/5-d213e0044313413cabf439c70a202de2
DispatchQueue에 대해서 더 자세히 알아서 좋았음
전에 정리해서 그런가 더 잘 들리는 것 같았음
정리하려고 했는데 넘.. 힘들다 ㅇ..
ㅎㅎ